For the second gauge in this build, I tried to get better placement of the current-limiting resistor. By placing it tight in the corner, it wont cast a shadow.
These photos show the LEDs at 100% brightness, but they are on PWM pins so I can control the intensity from the Arduino code.

It is subtle, but in the next photo you can see the difference between the first and second gauge. The right-most gauge has a dark spot between 30 and 40. It’s fine, and the light spread isn’t that even anyway, so I’m going to call it ‘character’.

The mounting panel is made from salvaged hardwood fence pickets. It’s red stringybark, very hard and with nice colour and grain definition.
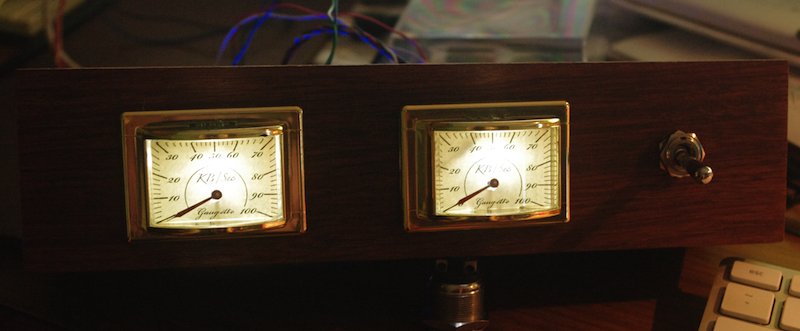
I’ve wired the 3-position switch to control “off”, “on” and “on with backlight”.